

 While the head and hands will be vinyl - you have a choice of two different types of body - one is referred to as Cortex and the other as Vinyl. Both body types are pre-built.
Fixing Arm Problems
While this can occasionally happen with the classic body type, the larger cavity in the upper arms of the Guys and Pear body increases the risk of twisting the shoulder frame—often when users test flexibility by rotating the upper arm shell 180 degrees without the frame moving in sync.
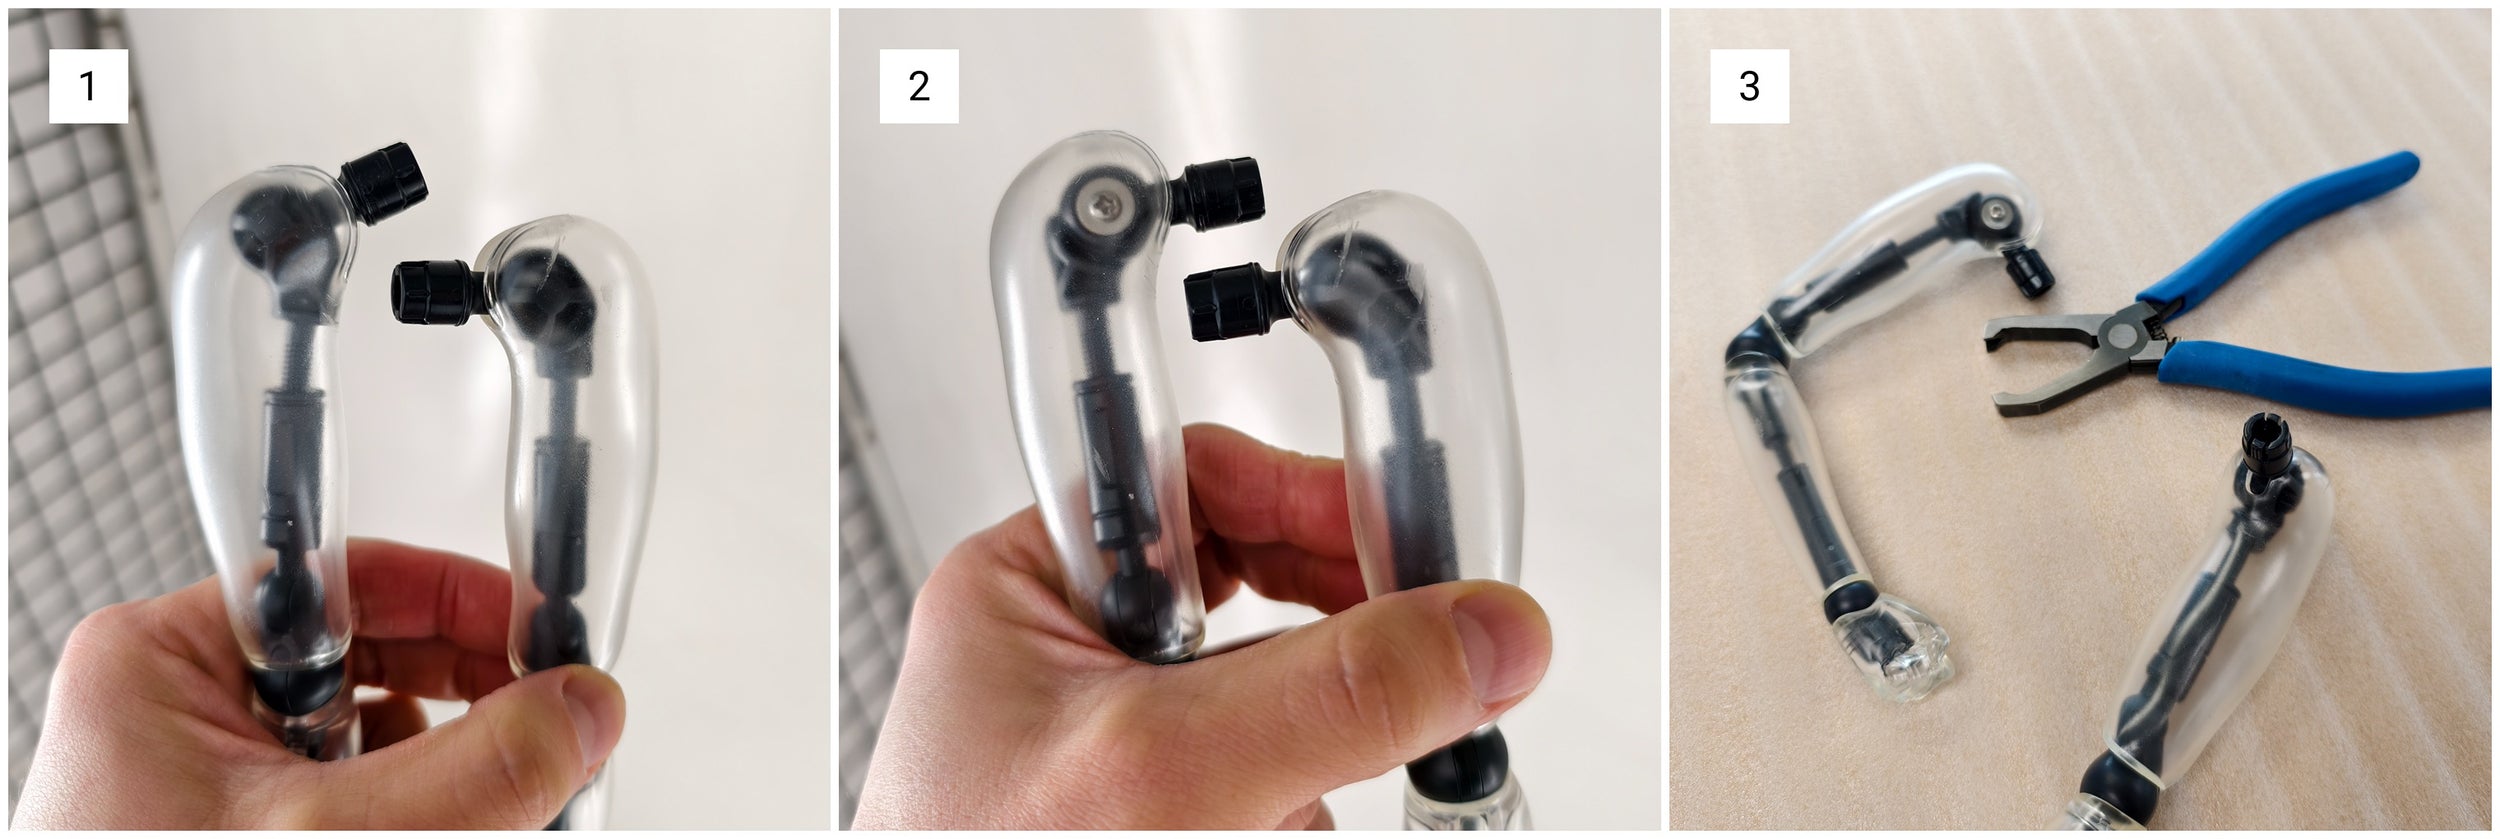
This flips the shoulder frame (image 1), preventing the arm from resting naturally at the body’s side. To fix this, remove the arm and rotate the shoulder frame back 180 degrees until it matches image 2. If needed, use a hairdryer to soften the vinyl, but be careful to avoid burns. If using tools like pliers, pad the teeth with a sponge to prevent damage, and most importantly, take care not to injure yourself or others.
This flips the shoulder frame (image 1), preventing the arm from resting naturally at the body’s side. To fix this, remove the arm and rotate the shoulder frame back 180 degrees until it matches image 2. If needed, use a hairdryer to soften the vinyl, but be careful to avoid burns. If using tools like pliers, pad the teeth with a sponge to prevent damage, and most importantly, take care not to injure yourself or others.
Shoulders are fully inserted when you feel a sharp, distinct click. The process typically involves two stages: the first click may feel dull and give the impression that the joint is secure, but after rotating the arms a few times, they may pop off. To apply even pressure, clasp your palms around the shoulder and push firmly inward until you feel a sharp click. You’ll know the joint is properly set when you hear audible clicks as you move the arm up and down.
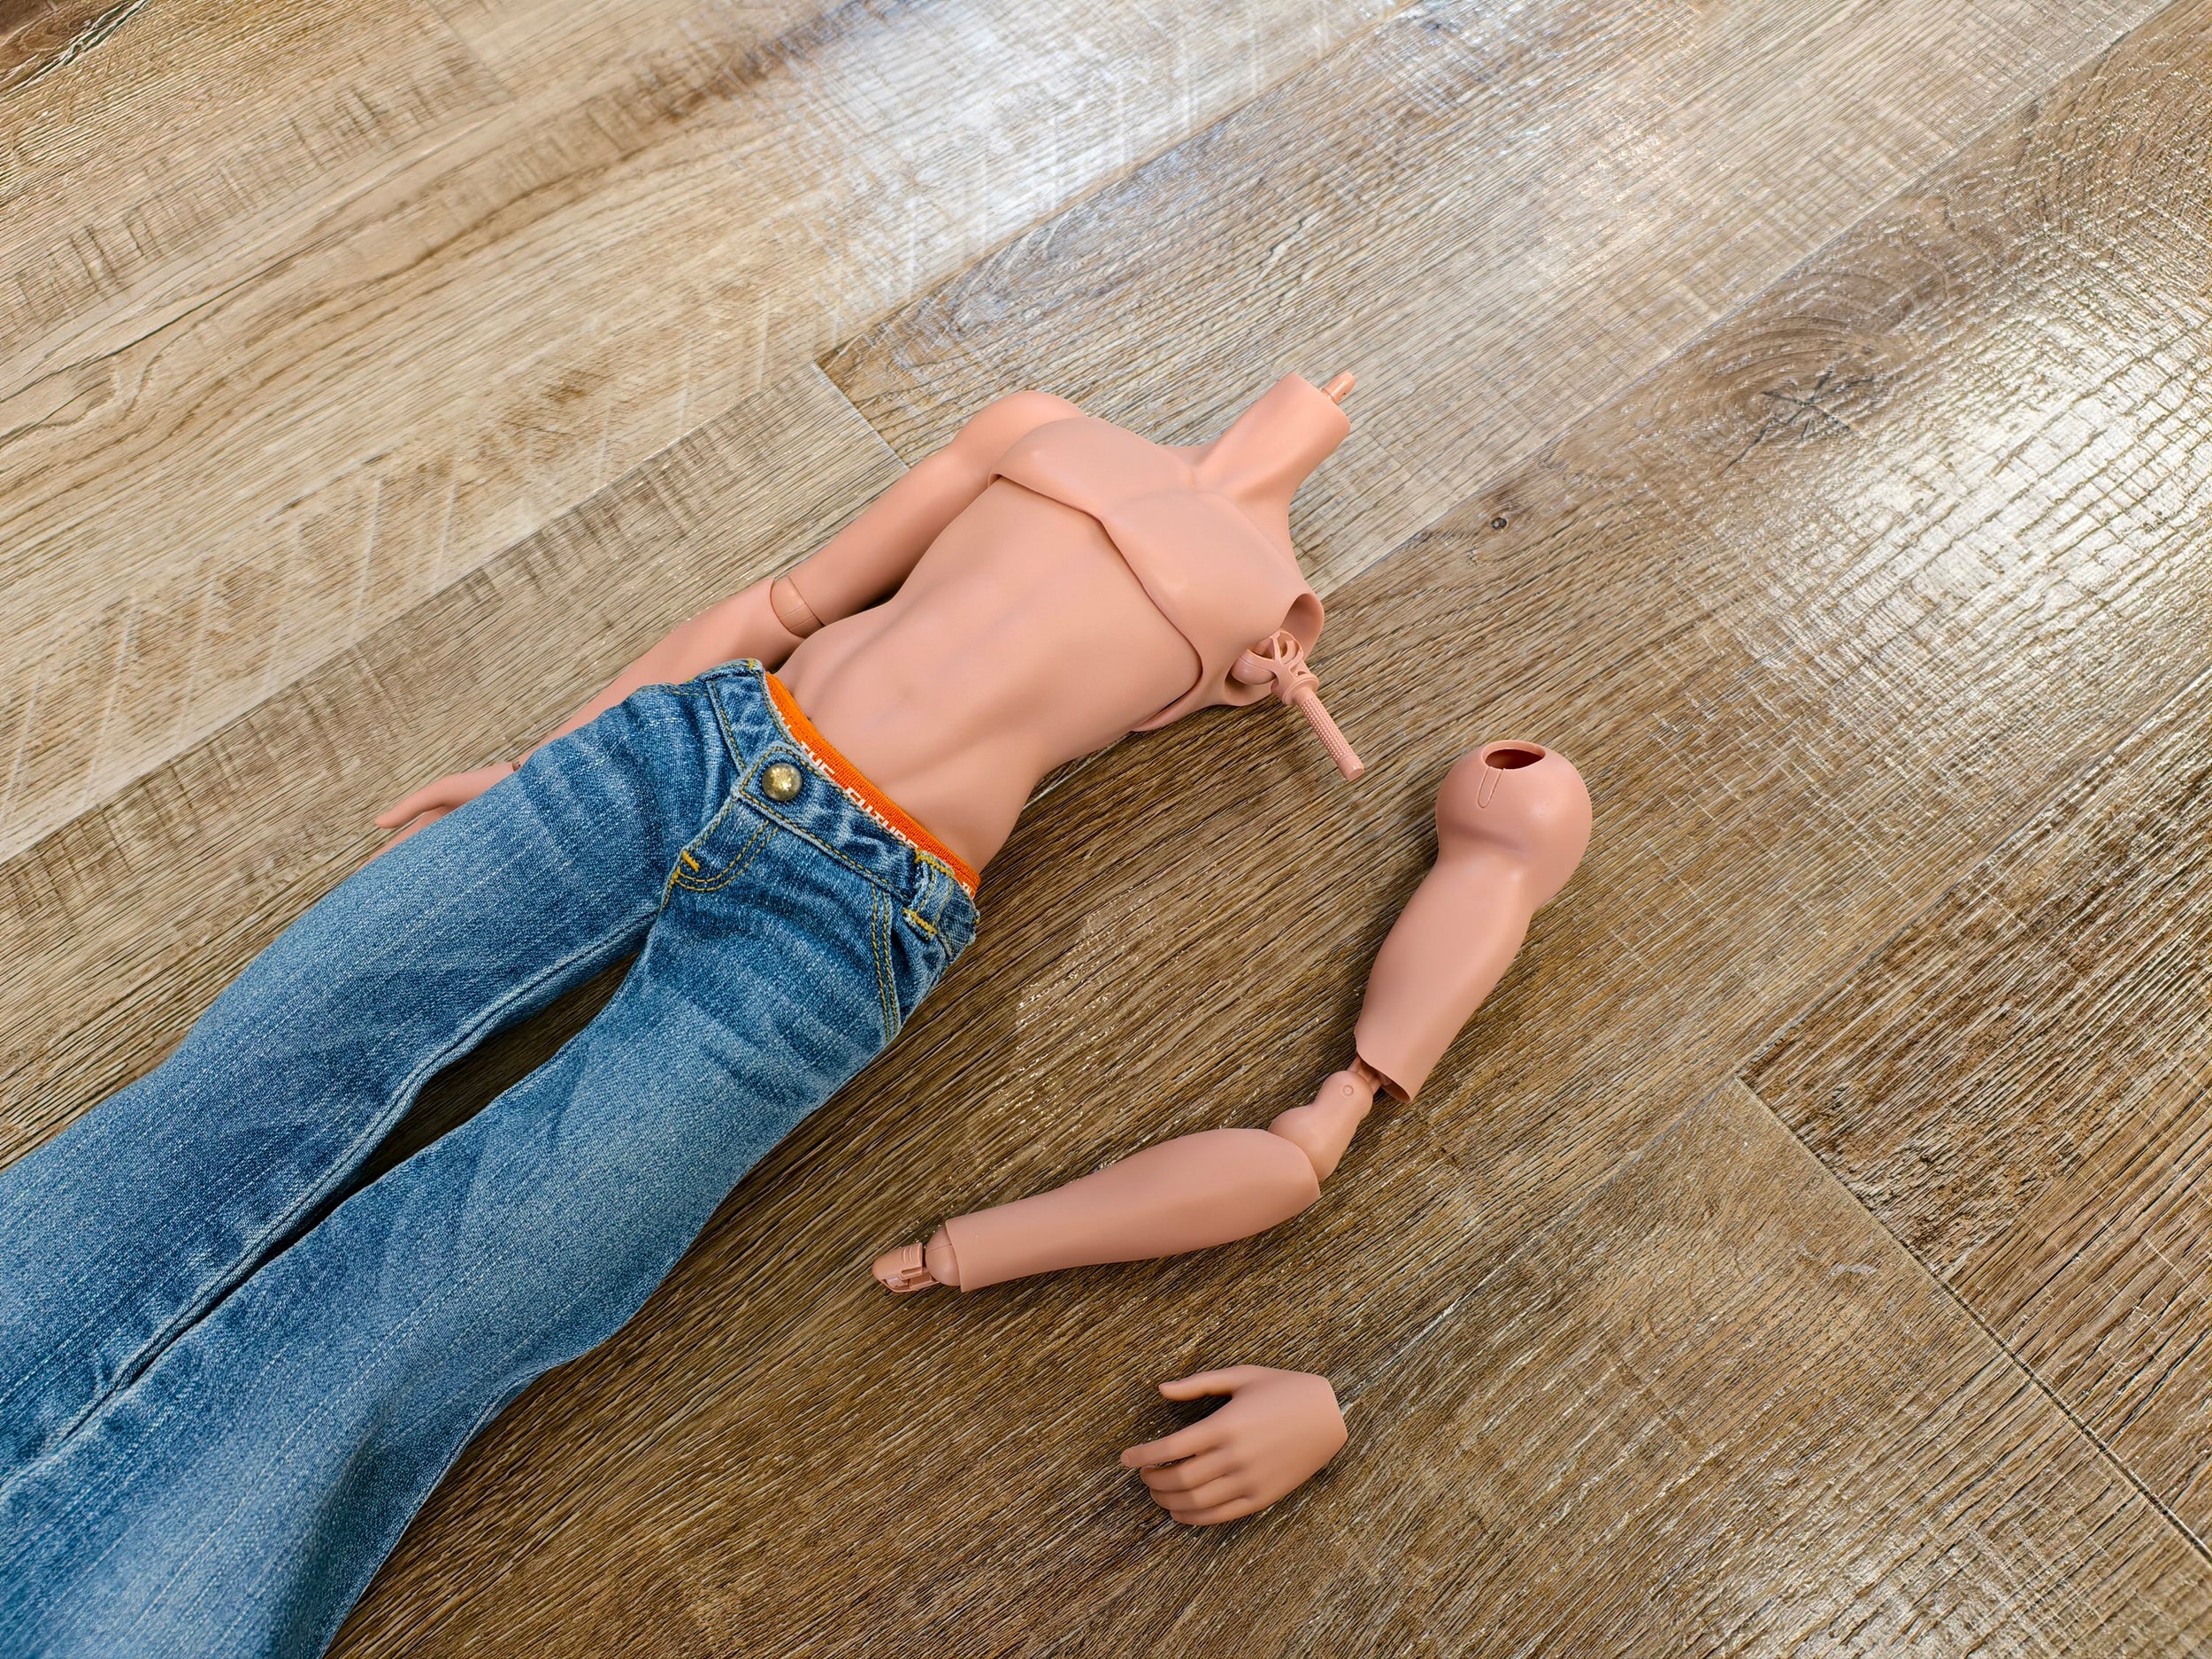
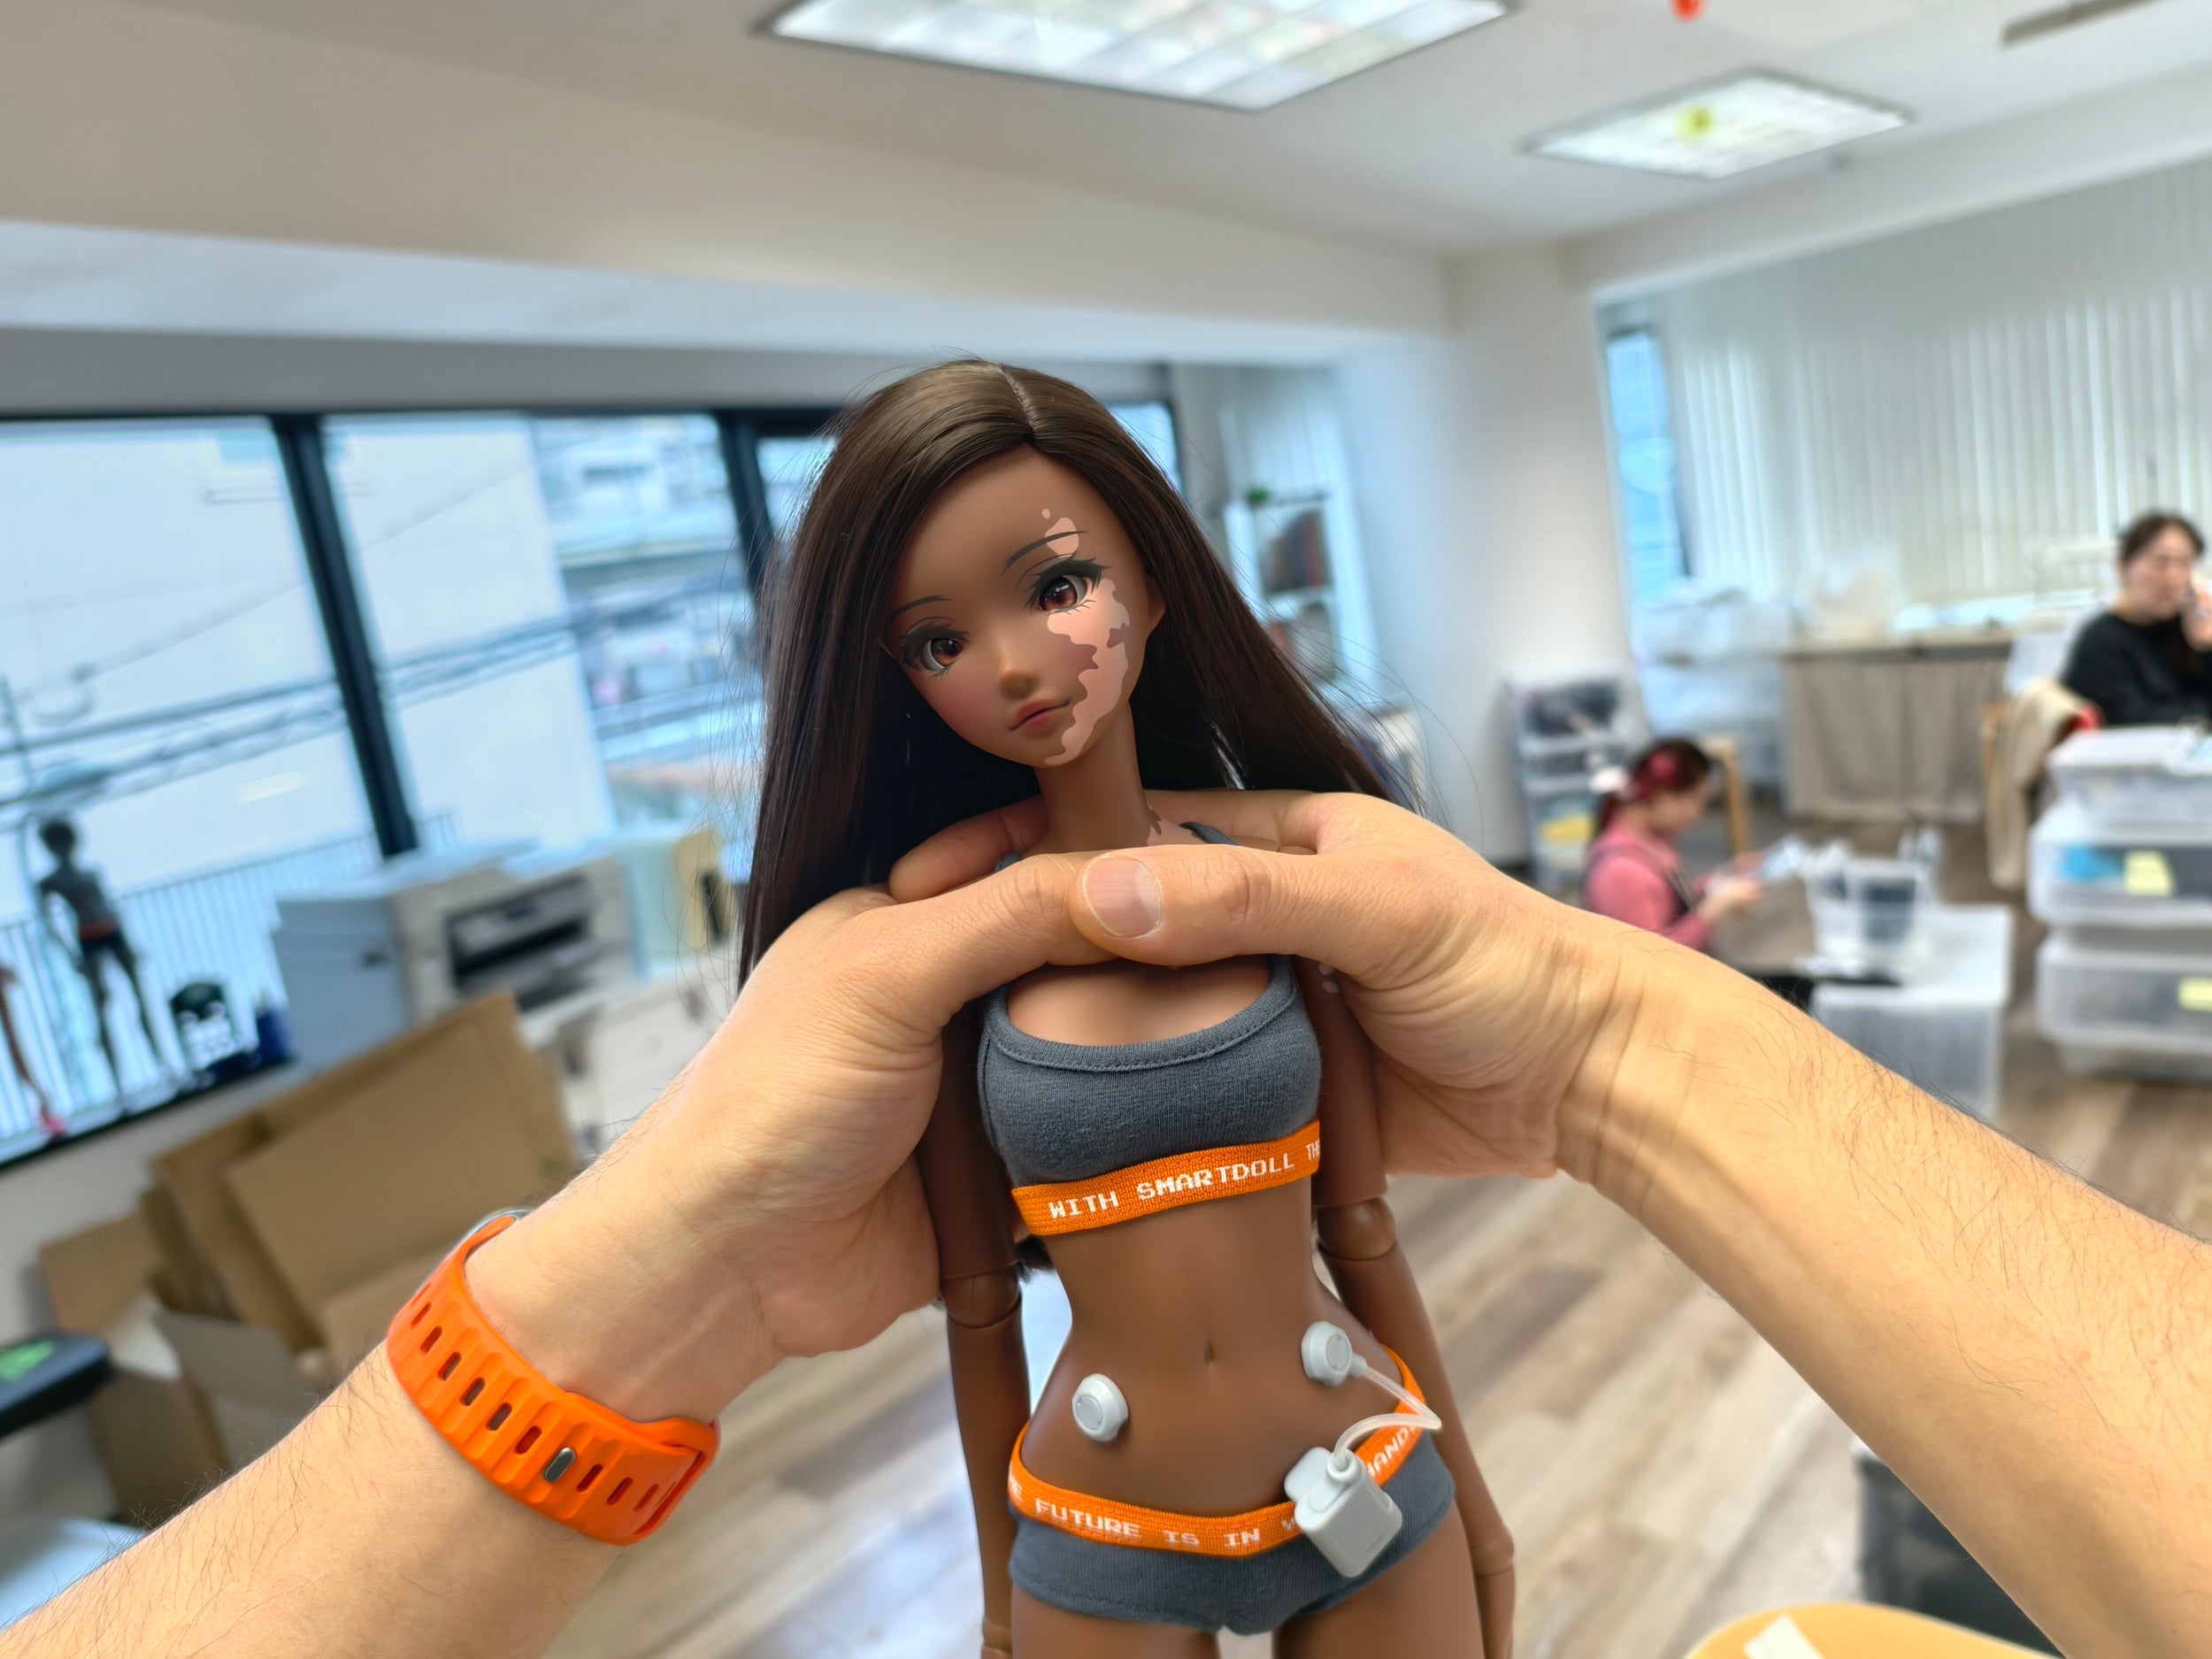
An apparel team member tried to remove the arm from a Guy Body without gripping the inner frame, which led to the classic peeling-back-the-skin-to-reveal-the-robot-underneath moment, straight out of Terminator.
This happens because the Guy Body uses soft-grade sofubi, which makes the arm socket more flexible and prone to stretching if not handled properly.
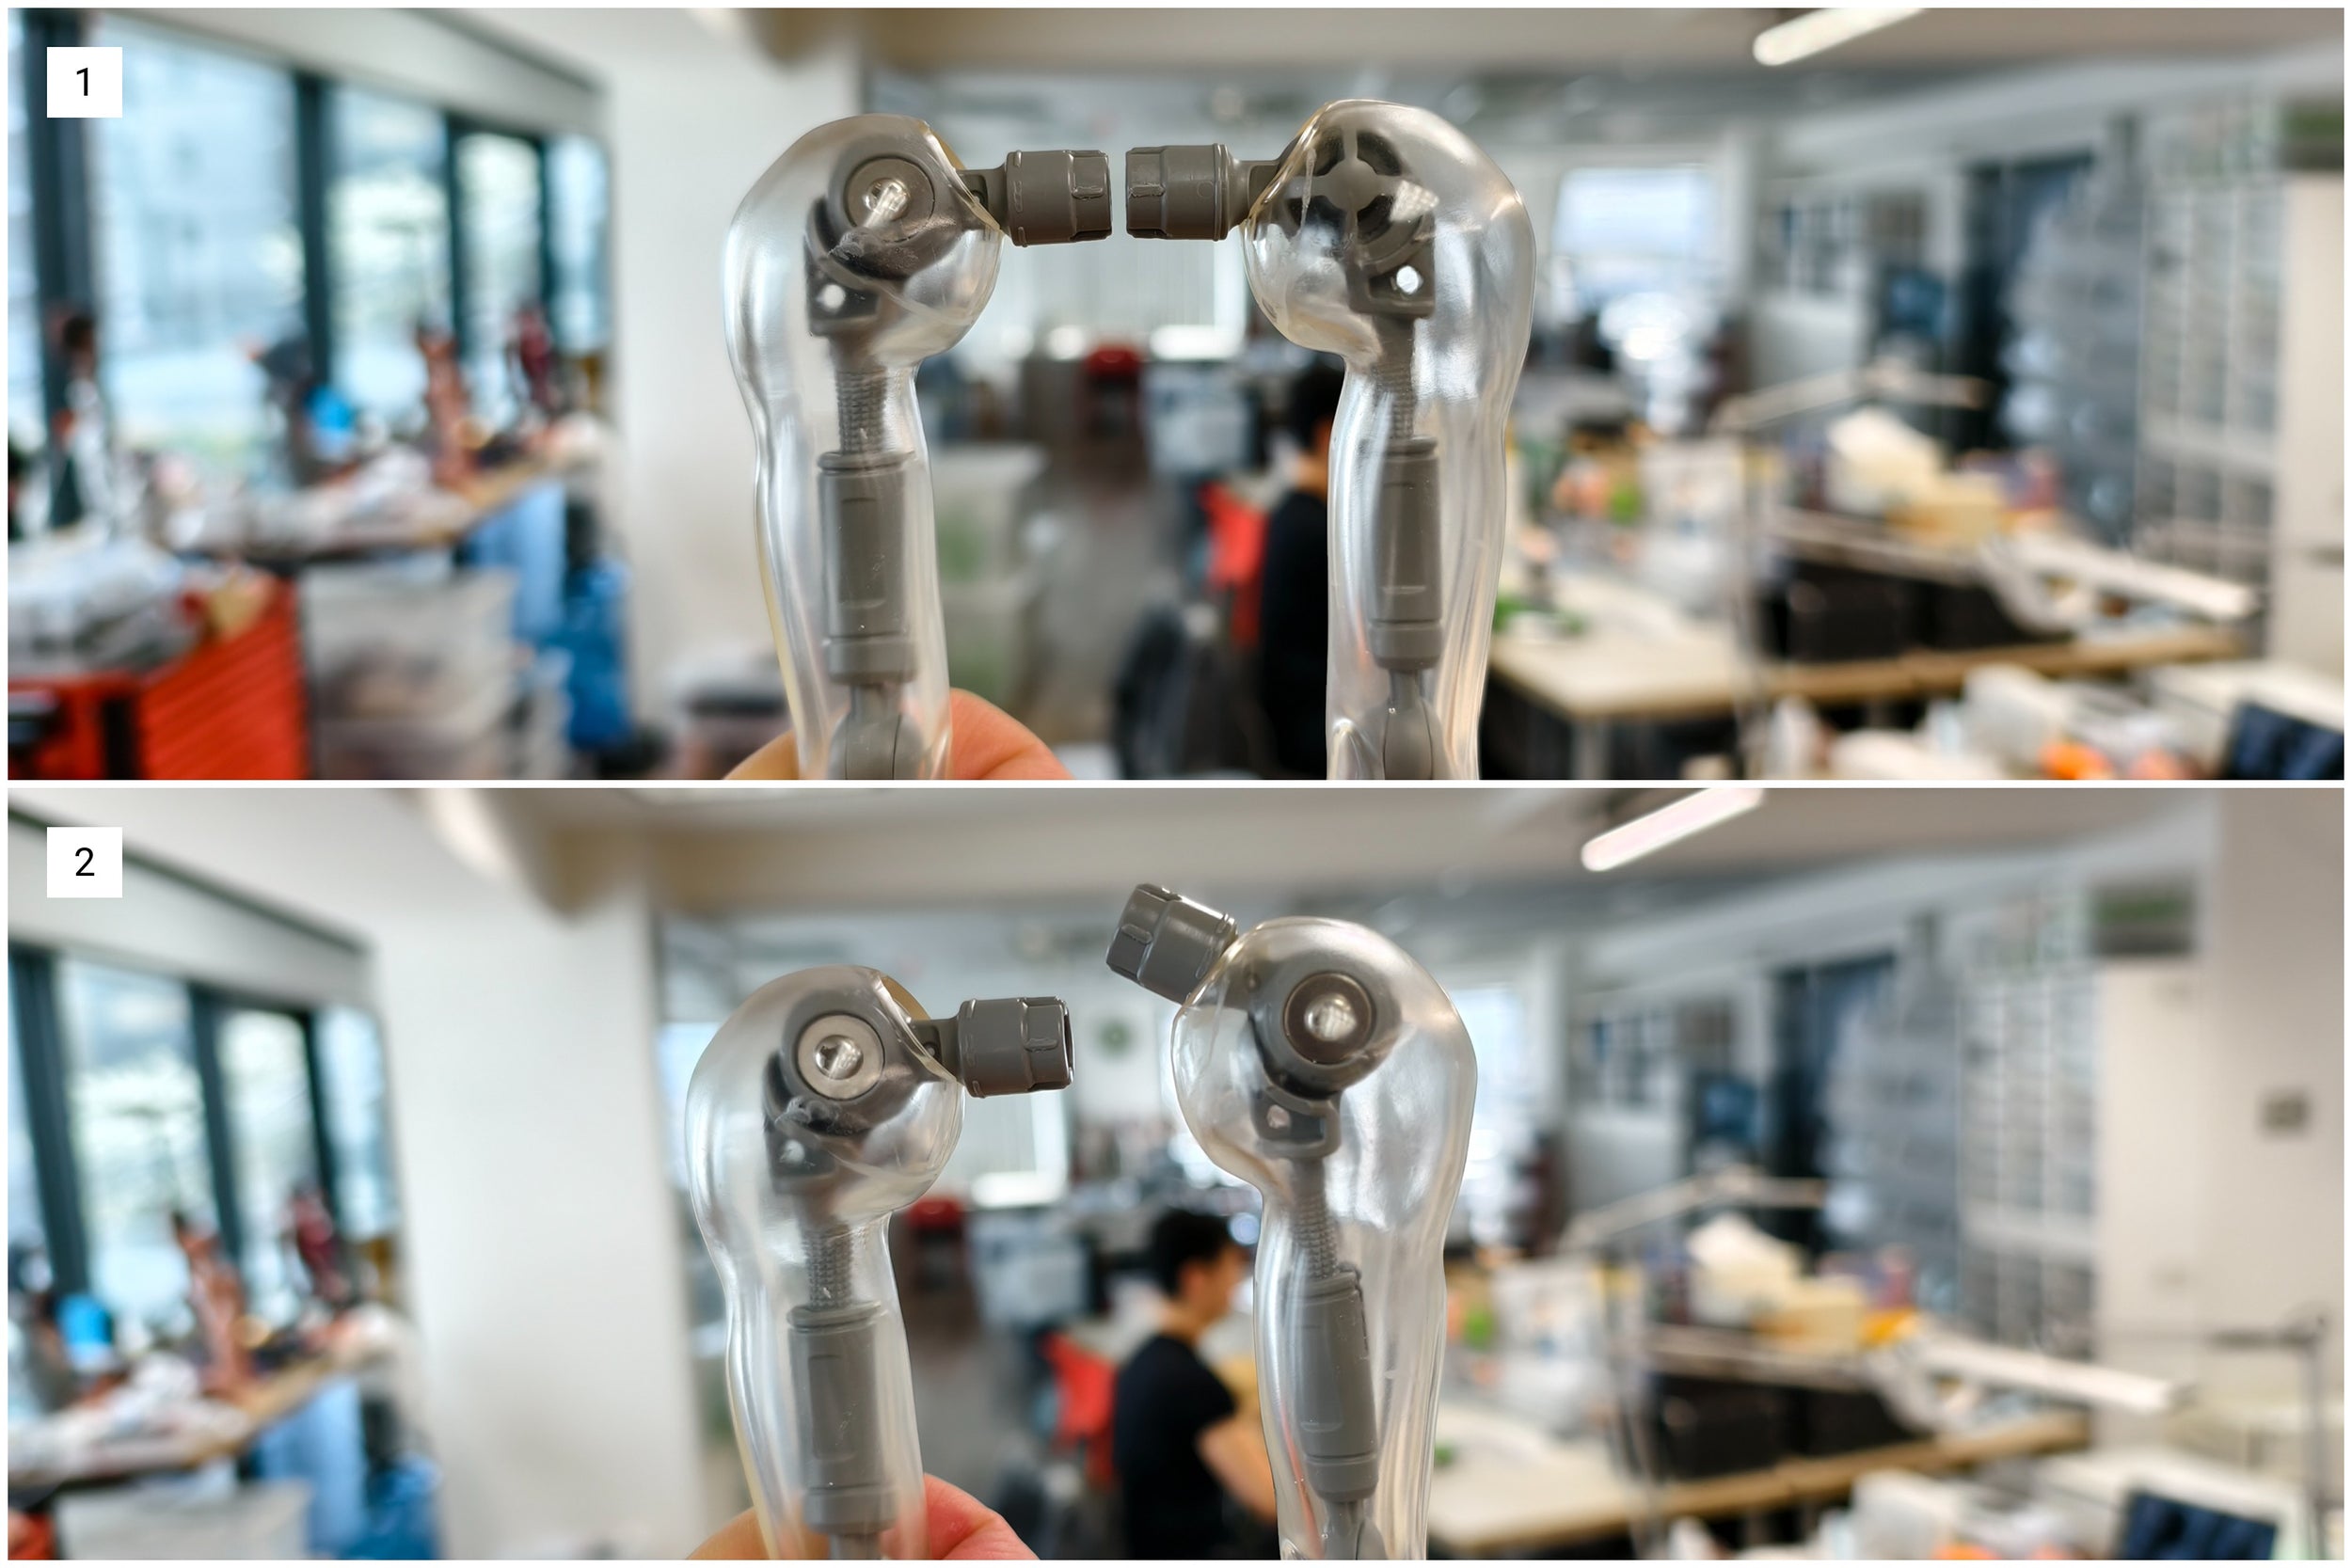
If this happens, don’t worry—just plug everything back together using the photo below as a guide. Be sure to connect the elbow joint securely into the shoulder shaft; otherwise, the arm may fall off during posing.

The photo below compares two shoulder joint positions: in image 1, the arm is correctly aligned, while in image 2, the right arm is upside down, meaning it won’t rest naturally by the doll’s side. Some folks try to force the arm downward in this position, which can cause unnecessary stress and potential breakage. Always double-check alignment before applying pressure.
Other Articles in “ Care Care ”

Why Fabrics Yellow Over Time (And How to Care for Them)
Just like how sofubi (soft vinyl) yellows over time, fabrics can also yellow as part of their natural aging process. This can happen for several reasons… ( learn more learn more )

Welcome to Smart Doll Land!
Danny here. If you’re like me, you probably skip manuals (which is why we don’t include any) and want to jump straight in. Before you do, there are a few... ( learn more learn more )
Squished parts during transit
Due to the nature of sofubi material—especially soft-grade parts—they can sometimes get squished during transit. In most cases, simply releasing them from the box allows them to return to their... ( learn more learn more )